Keto Peanut Butter Oreo Cookie Recipe
These keto peanut butter Oreo cookies bring together the world’s best combination of flavors. Dark, rich chocolate with peanut butter!

I published a keto copycat recipe for Oreos earlier this year, and it’s amazing, but these really take the cake…. or cookie as the case may be.
My favorite thing about this recipe, is the idea actually came from our family dentist!
We recently learned he also adopted a ketogenic lifestyle, so he loves to talk about all-things-keto during our appointments.
At my husband’s last dental appointment, he was telling our dentist about my Oreo cookie recipe.
Before the appointment was over, the two of them decided there should be a keto copycat recipe for the Peanut Butter Oreos too.
Related: Check out my Keto 101 – Keto Baking Essentials!
Who am I to deny a dessert recommendation from a dentist?
I had everything I needed to make the recipe except peanut butter.
Not wanting to delay the creation of these cookies, my husband made the quickest trip ever to and from our local supermarket with a couple containers of dry roasted peanuts.
We started making our own peanut butter several years ago, and it’s honestly SO MUCH better than store-bought!
With all the ingredients in hand, it was time to make a little dark magic happen!
***scroll down for printable recipe
This post may contain affiliate links, which helps keep this content free. Please read our disclosure for more info.
How to Make Keto Peanut Butter Oreo Cookies
The Cookie:
Let’s start out in our trusty medium mixing bowl by whisking together the almond flour, coconut flour, cocoa powder, salt, xanthan gum, baking powder, and espresso powder.
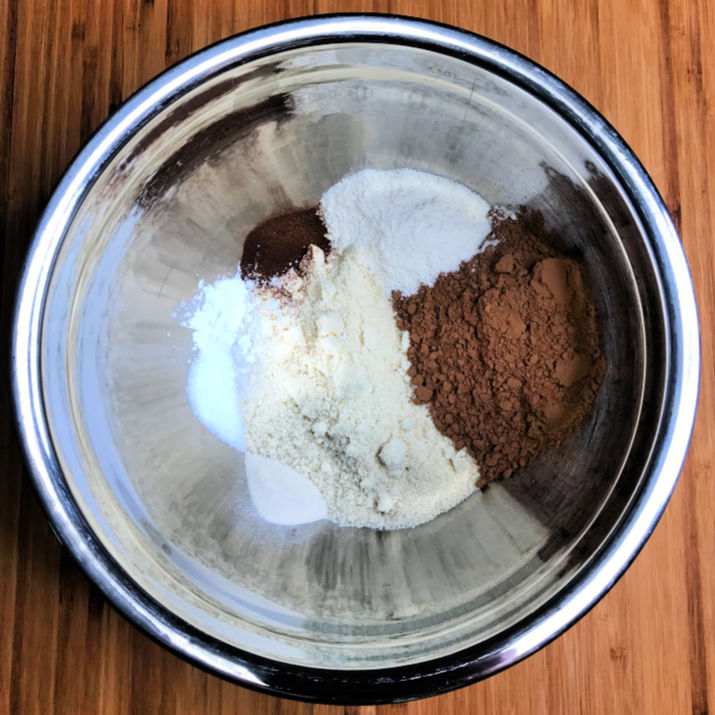
Set that aside for a minute and in a large mixing bowl cream the butter with a hand mixer for about 1 minute.
Add the sweetener to your creamy butter and continue mixing until most of the sweetener has dissolved then add the egg and continue mixing until everything is incorporated.
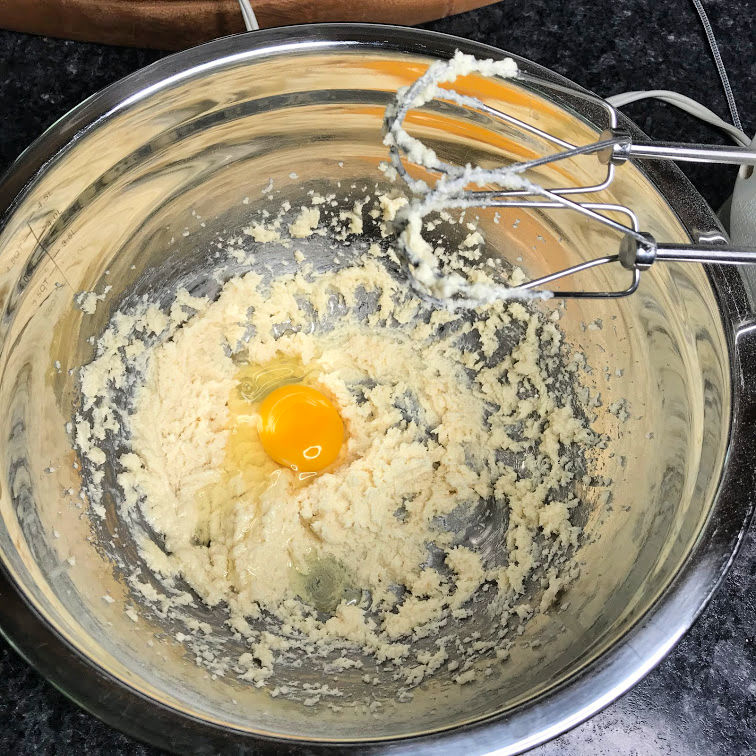
Now, I know the excitement is building here but please, for the love of the cookies-to-be, SLOWLY add the dry ingredients into the wet mixture (about half at a time) and continue mixing until a crumbly, sticky dough forms.
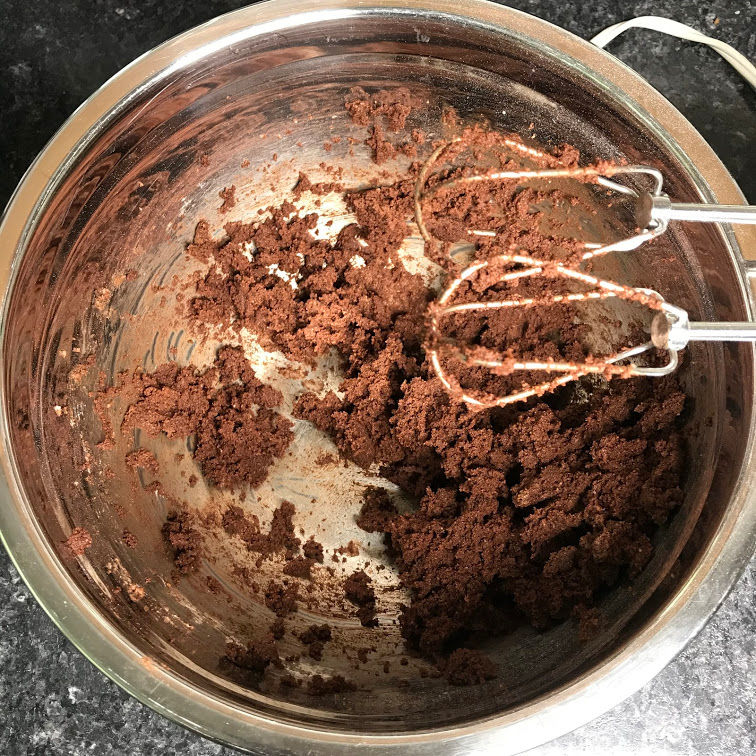
Ta-Dah! Wrap your perfect cookie dough ball in plastic wrap and stick in the fridge for at least 1 hour and up to 24 hours.
Related: Got a sweet tooth? Check out my round up of keto desserts!
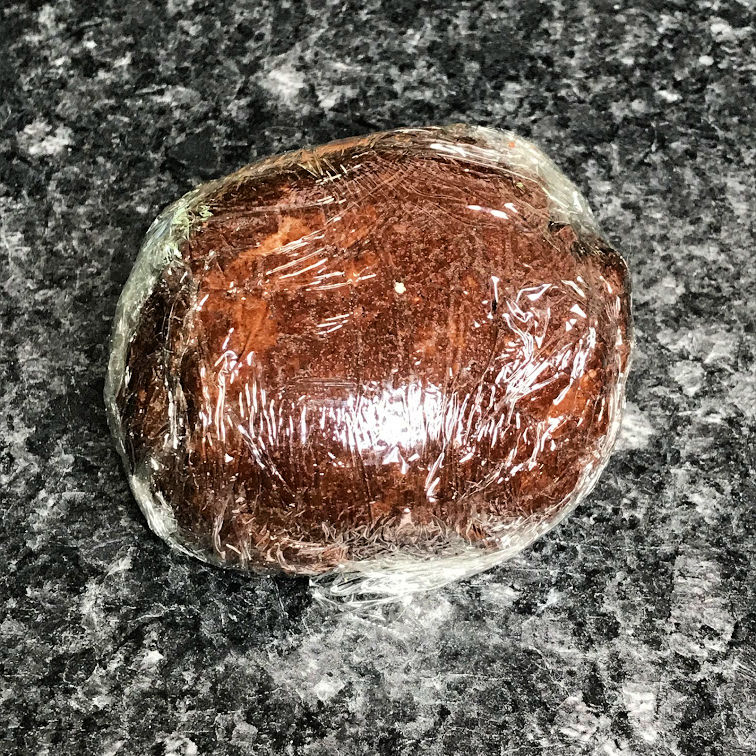
When you’re ready to begin baking, preheat the oven to 350 degrees F.
Possibly the most fun of all is rolling the dough. Do so between two pieces of parchment paper until you achieve the expected thickness of a single Oreo cookie. (One cookie part, not the entire sandwich!)
While you can get a little creative here with shapes and sizes if you want, I’m using an Oreo-sized cookie cutter (about 1 3/4 diameter) to cut out the cookie rounds.
Fun little fact! A standard-size shot glass is the perfect Oreo diameter! Just in case you don’t have the right-sized cookie cutter 😉
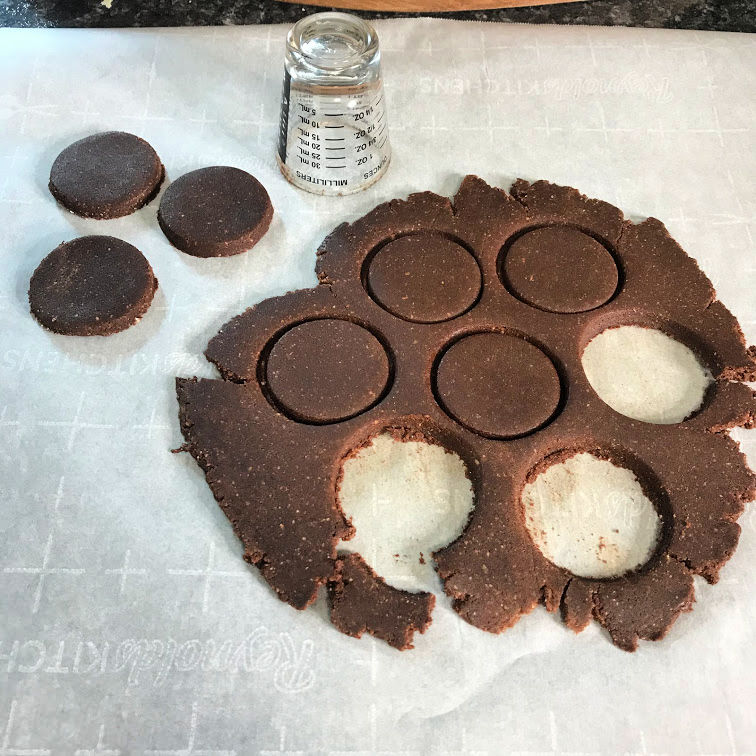
Transfer those perfect little dark and round delicacies to a parchment-lined baking sheet.
Repeat the rolling and cutting until you’ve used up all the dough. It’s sad to think about but it will eventually run out.
Bake your cookies for 8-12 minutes. You are flying blind here because the cookies are already dark so it’s tough to know when they are done.
However, it’s important to push the cooking time as far as possible without burning. You want crisp cookies for this recipe (We’ll talk about soft batch some other time ?).
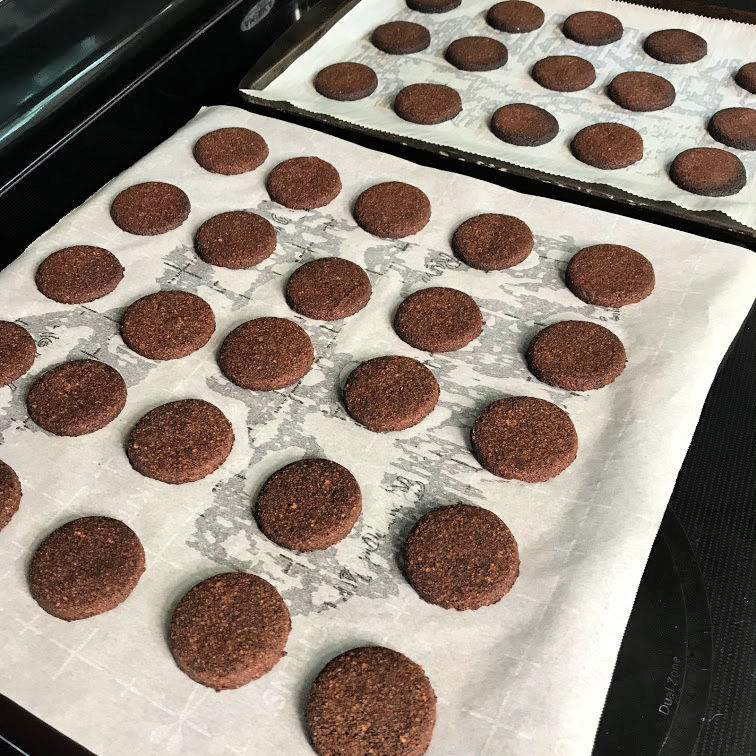
Another important thing to keep in mind here – because we are using Erythritol-based sweetener, the cookies will continue to harden for up to two hours after coming out of the oven as the sweetener recrystallizes.
Once out of the oven, allow the cookies to cool for about 15 minutes before transferring to a cooling rack.
The Filling:
Now that the cookies are cooling and crisping, we can focus all our efforts on the cream filling.
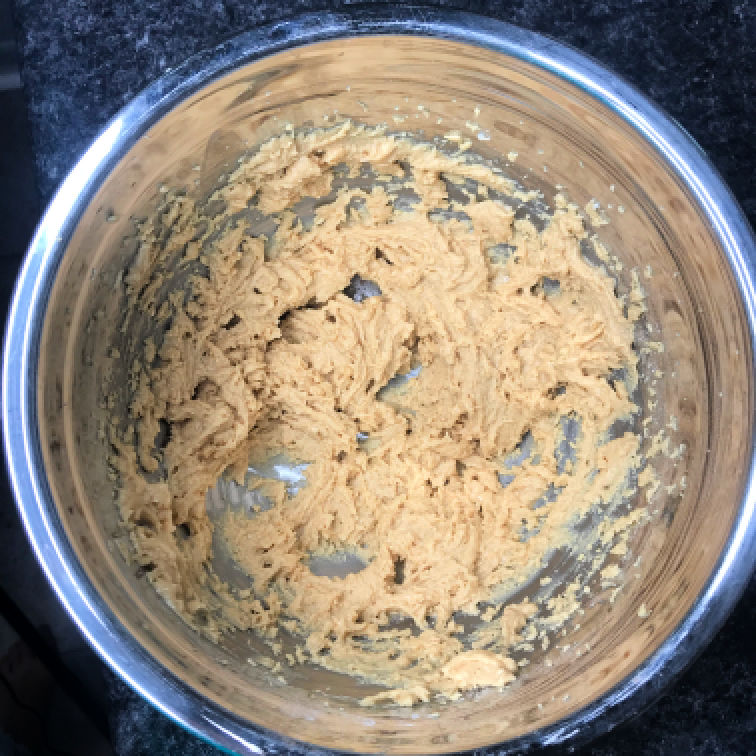
Add all the filling ingredients in a medium-sized bowl and cream together with an electric hand-mixer until fulling incorporated.
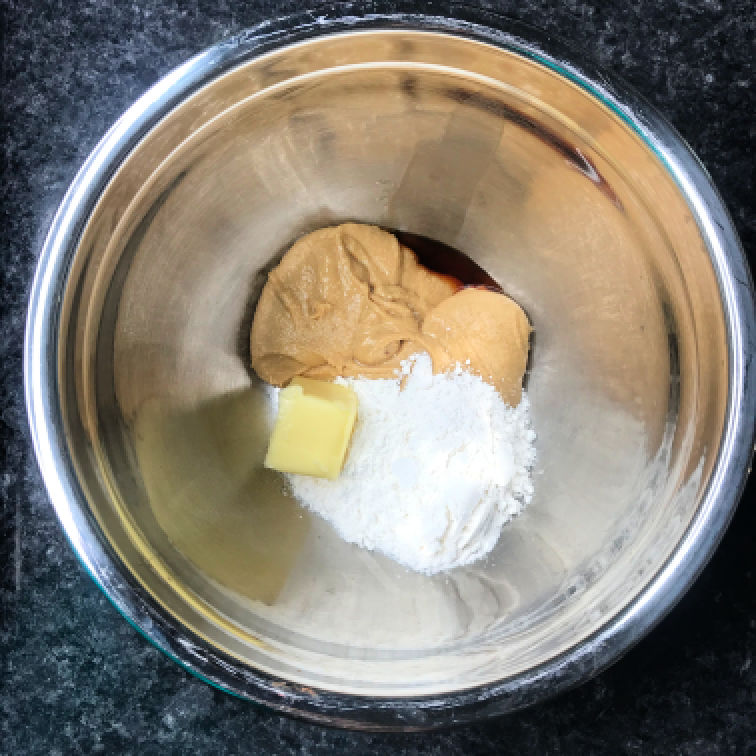
Feel free to take some artistic freedom here if the filling is not sweet enough for you and add sweetener about 1 tbsp at a time until your sweet tooth reaches maximum satisfaction.
The Sandwich:
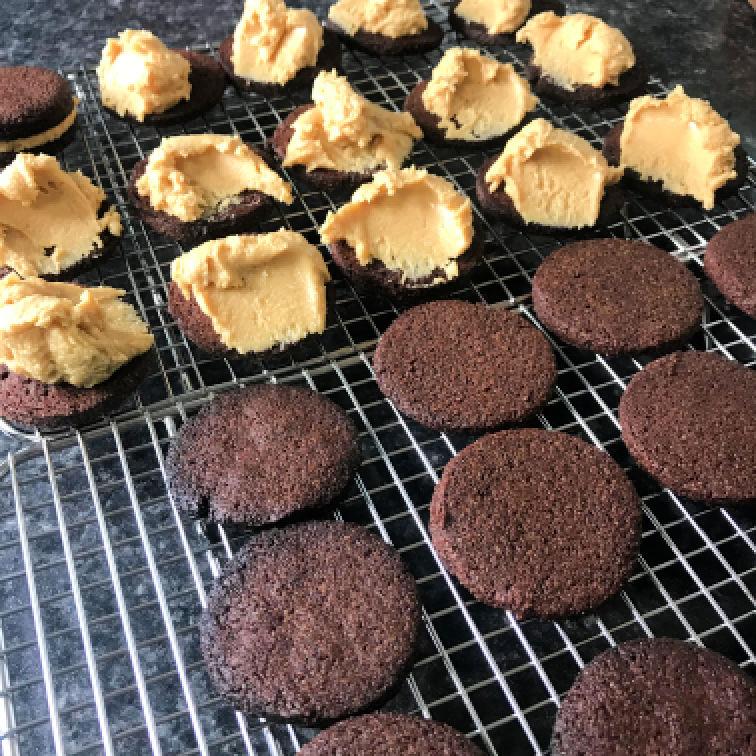
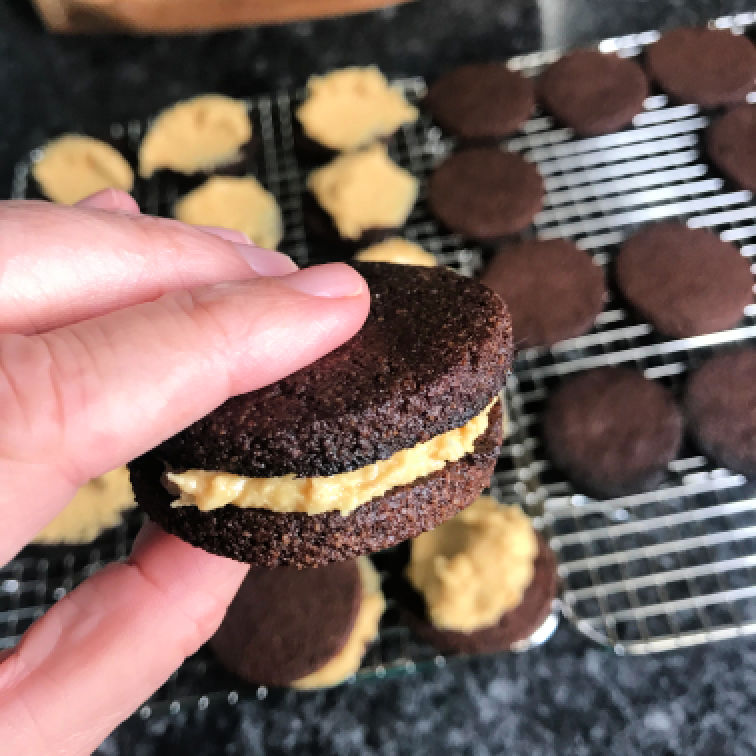
We are getting close now, I promise! Spread or pipe your cream filling onto a cookie and then sandwich a second cookie on top.
Say it with me, “Cookie, Filling, Cookie, Sandwich!” Repeat until all the cookies are used.
Assuming you and yours do not eat all the cookies in one extreme cookies and milk session, you can store these in an air-tight container for up to a week at room temperature, but I prefer to keep mine in the fridge.
More Low Carb Cookie Recipes from Healthy Ambitions
Pumpkin Cheesecake Thumbprint Cookies
Keto Peanut Butter Oreo Cookie Recipe
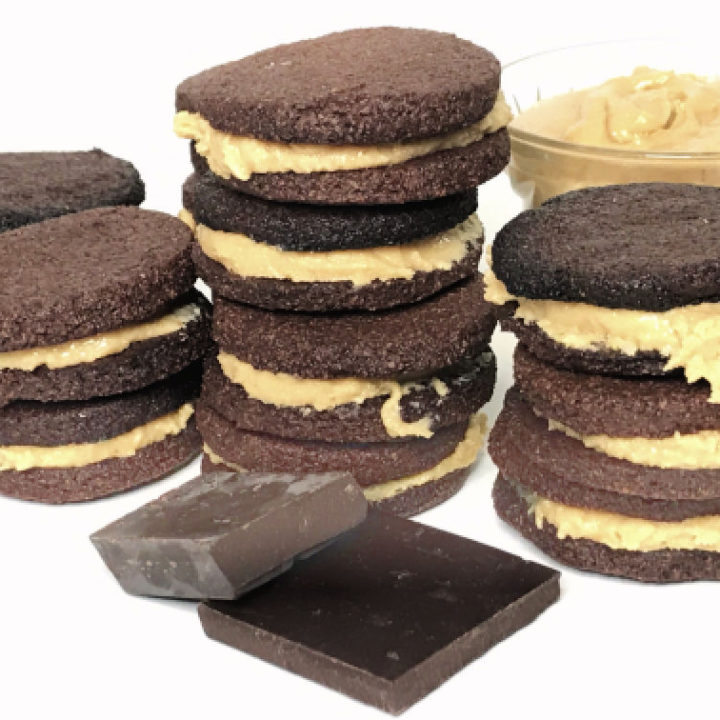
This keto version of the peanut butter oreo cookie is even better than the original!
Ingredients
For the Cookies:
- 1 cup almond flour
- 2 tbsp coconut flour
- 1/2 cup cocoa powder
- 1/2 teaspoon salt
- 1/2 teaspoon xanthan gum
- 1/2 teaspoon baking powder
- 1/2 teaspoon espresso powder
- 1/2 cup Swerve Sweetener
- 6 tbsp butter, softened
- 1 egg
Cream Filling:
- 2 tbsp butter, softened
- ½ cup peanut butter
- 1/4 cup powdered Swerve
- 1 tsp vanilla extract
- 1/4 tsp salt
Instructions
- In a medium-sized bowl, whisk together the almond flour, coconut flour, cocoa powder, salt, xanthan gum, baking powder, and espresso powder. Set aside.
- In a large mixing bowl, cream the butter with a hand mixer for about 1 minute.
- Add the sweetener and continue mixing until most of the sweetener has dissolved.
- Add the egg and continue mixing until incorporated.
- Slowly add the dry ingredients into the wet mixer (about half at a time) and continue mixing until a crumbly, but sticky dough forms.
- Wrap the cookie dough in plastic wrap and stick in the refrigerator for at least 1 hour, up to 24 hours.
- Preheat the oven to 350 degrees F.
- Roll how the cookie dough between two pieces of parchment paper until the expected thickness of a single oreo cookie. (the cookie part, not the entire sandwich)
- Using an oreo sized cookie cutter (about 1 3/4 diameter), cut out the cookie rounds, and transfer them to a parchment-lined baking sheet.
- Ball up any cookie dough scraps and roll out again, repeating the process until all the cookie dough is used.
- Bake for 8-12 minutes. Since the cookies are already dark, it’s tough to know when they are done, but you want to push the cooking time as far as possible without burning to ensure the cookies crisp up nicely.
- Because we are using Erythritol-based sweetener, the cookies will continue to harden for up to two hours after they come out of the oven as the sweetener recrystallizes.
- Once out of the oven, allow the cookies to cool for about 15 minutes before transferring to a cooling rack.
- To make the cream filling, put all the ingredients in a medium-sized bowl and cream together with an electric hand-mixer until fulling incorporated. If the filling is not sweet enough for you, add more in about 1 tbsp at a time until it reaches the desired sweetness.
- Spread or pipe the cream filling onto a cookie and then sandwich a second cookie on top. Repeat until all the cookies are used.
- You can store these in an air-tight container for up to a week at room temperature, but I prefer to keep mine in the refrigerator.
