

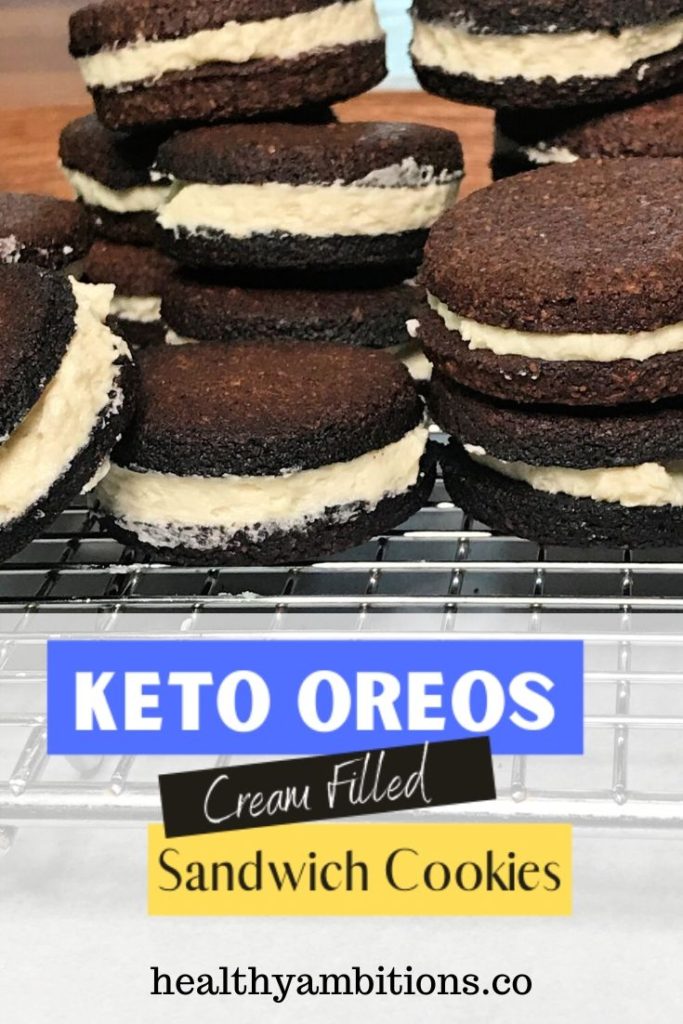
This homemade, low-carb version of the original Oreo Cookie Recipe is almost too good to be true! Buttercream frosting sandwiched between two dark chocolate wafers equals a whole lotta YUM!
And at only 1g net carb per cookie sandwich, you may have a hard time only eating one! But then, maybe it’s ok to have two 😉
Mr. Healthy Ambitions is the Oreo-Cookie-Lover of the household. In our pre-healthy days, it wasn’t uncommon for him to polish off an entire box of Oreos in a matter of days.
With a glass of milk for dunking, of course.
Related: Check out my round up of more than 20 keto desserts!
Fast forward to today, and the traditional Oreo Cookie Recipe doesn’t fit within our healthier lifestyle.
Since going gluten-free over 2 years ago, our bellies can’t really handle wheat (more so, the gluten part of wheat), and eating a real Oreo cookie will literally cause physical pain.
No amount of yumminess is worth the extreme and painful belly bloat, lovingly referred to as Wheat Belly.
Related: Learn about the keto flu, and how to avoid it.
Not wanting to forever deprive my husband of his favorite cookie, I set out to research for a ketofied version.
Before developing my own modified version of the Oreo Cookie, I came across a recipe from the low-carb food blogger, Gnom-Gnom. The following video is the recipe tutorial for her recipe.

Someday, I’ll get around to reshooting a video with my own recipe, and I’ll be sure to share that with you when I do! (making a mental note of that now)
While some of the ingredients and amounts are different between my recipe and the one in the above video, the basic process is the same.
This post may contain affiliate links, which helps keep this content free. Please read our disclosure for more info.
How to Make Homemade My Low Carb Oreo Cookie Recipe
Aside from a few specialty ingredients that you may need to buy before you can make low carb oreo cookies, it’s a very easy, no-fuss recipe to make.
The Chocolate Cookie – Oreo Cookie Dough
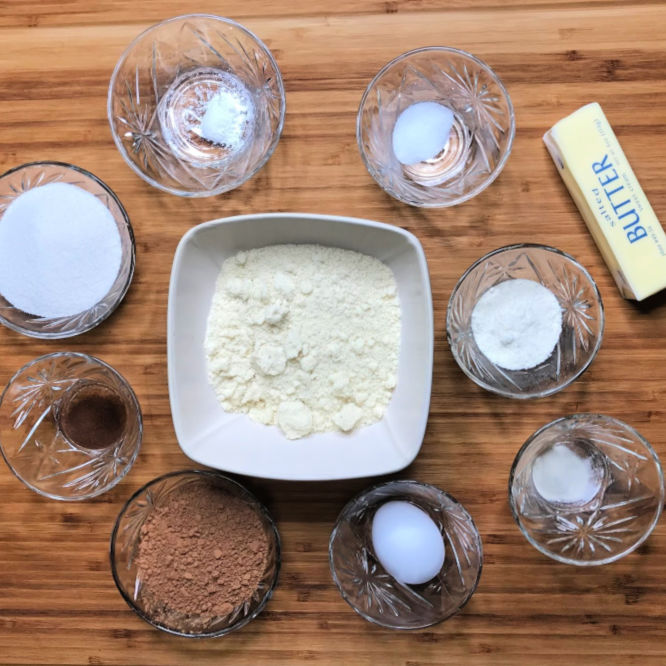
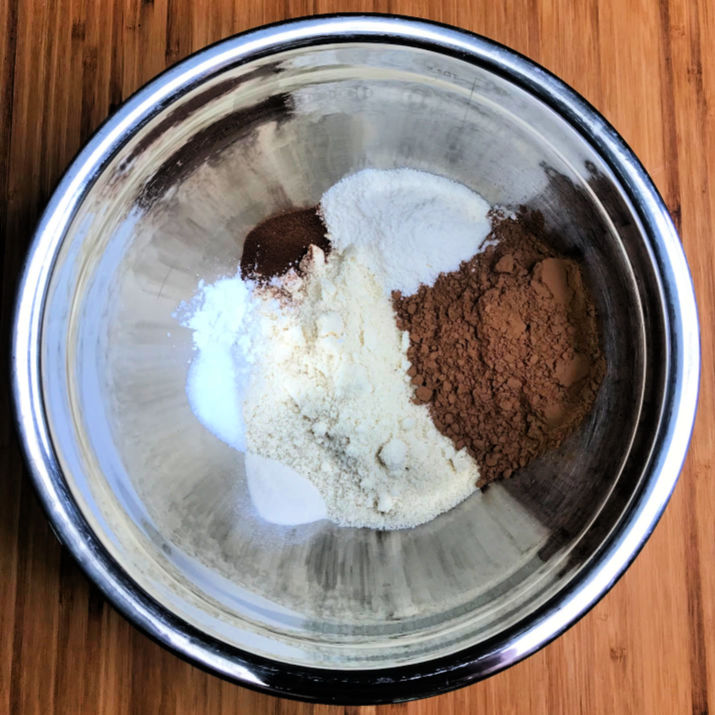
In a medium-sized bowl, whisk together almond flour, coconut flour, cocoa powder, salt, xanthan gum, baking powder, and espresso powder, and then set it aside for a minute.
If you want to make the cookies even darker chocolate, I recommend trying Black Cocoa Powder. The Hershey’s brand has a cocoa product called “Special Dark” and it’s truly amazing!
Truth be told, I didn’t use it in this recipe because I was out of it, lol
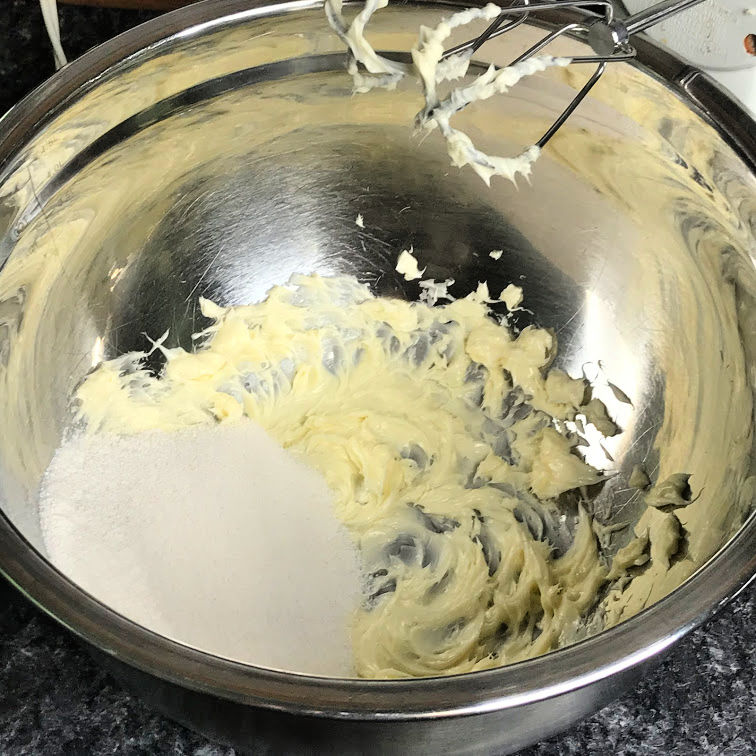
In a separate, large mixing bowl, cream the butter with a hand mixer for about 1 minute. This helps to break down the already softened butter even more before adding the sweetener.
Once you add the sweetener, continue mixing until most of the sweetener has dissolved.
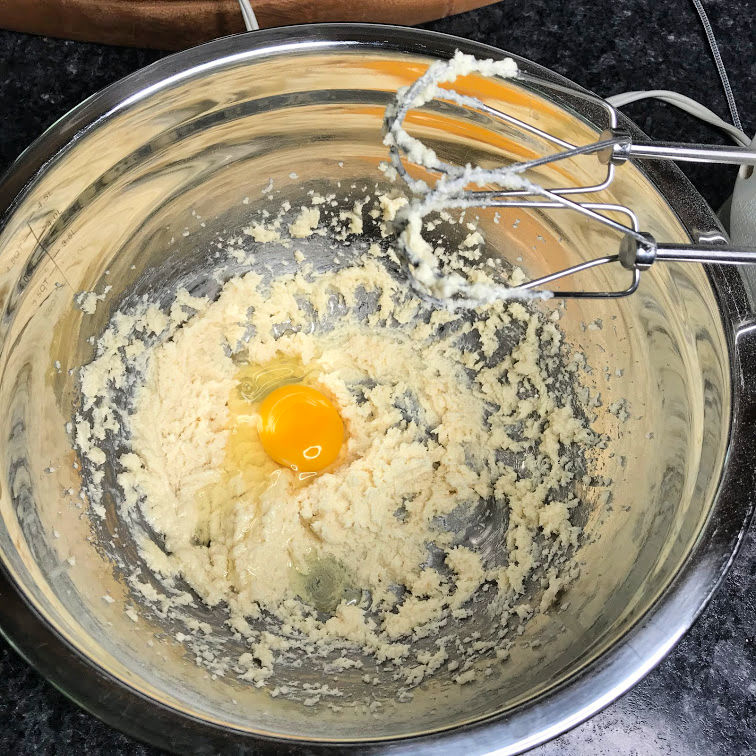
Next, add the egg and continue mixing until incorporated. The egg won’t 100% mix in, so simply mix it together as well as possible.
Slowly add the dry ingredients into the wet mix in the large bowl (about half at a time) and continue mixing until a crumbly, but sticky dough forms.

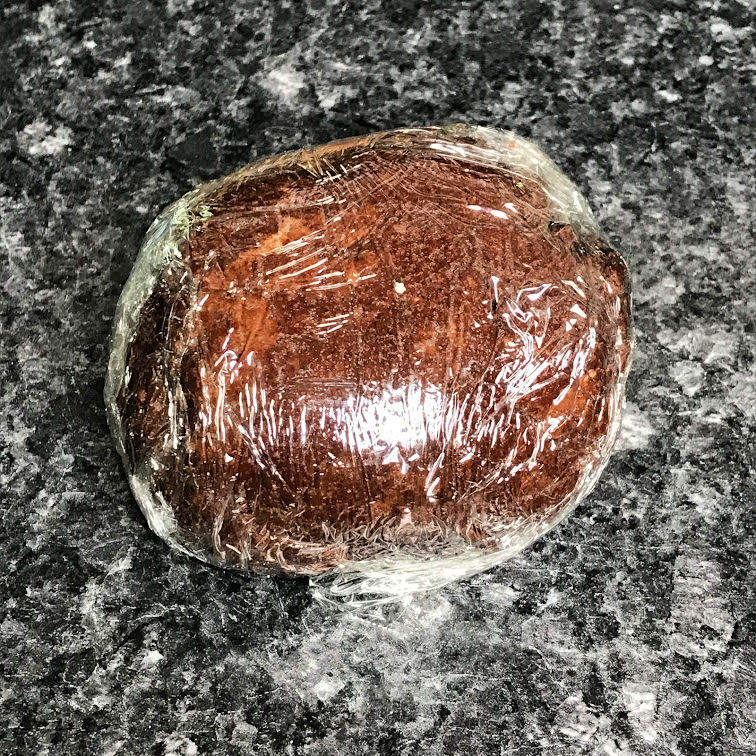
Wrap the cookie dough in plastic wrap and stick in the refrigerator for at least 1 hour, up to 24 hours.
Once the Oreo cookie dough is chilled and you are ready to continue, preheat the oven to 350 degrees F.
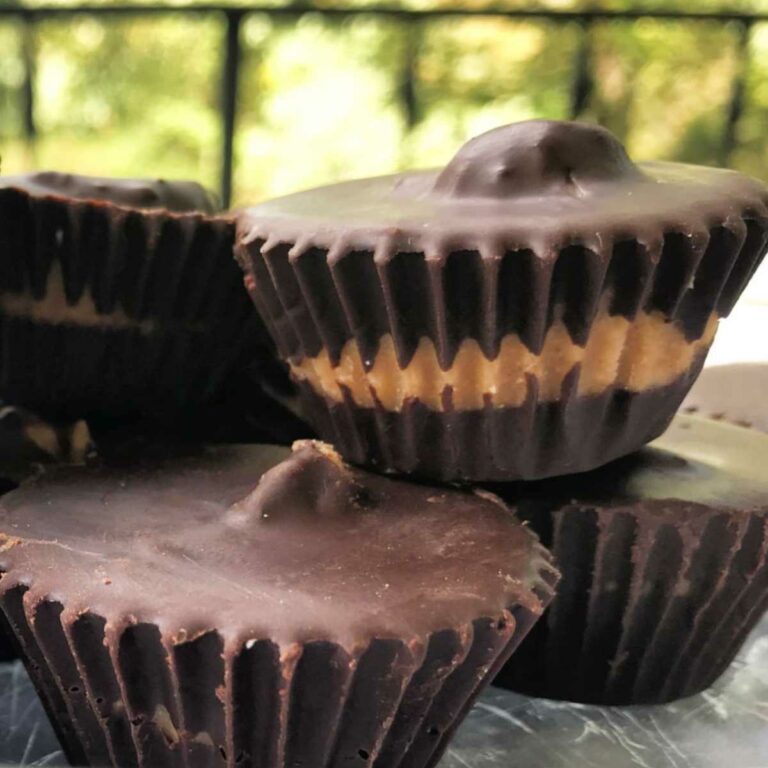
Related: Learn how to make Keto Peanut Butter Oreo Cookies.
Roll out the Oreo cookie dough between two pieces of parchment paper, about the thickness of a traditional Oreo cookie. (the cookie part, not the entire sandwich)
Using an Oreo sized cookie cutter (about 1 3/4 diameter), cut out the cookie rounds, and transfer them to a parchment-lined baking sheet.
I don’t actually have a round cookie cutter, but found that a shot glass was the perfect size to get the job done. Who knew shot glasses could serve another purpose!
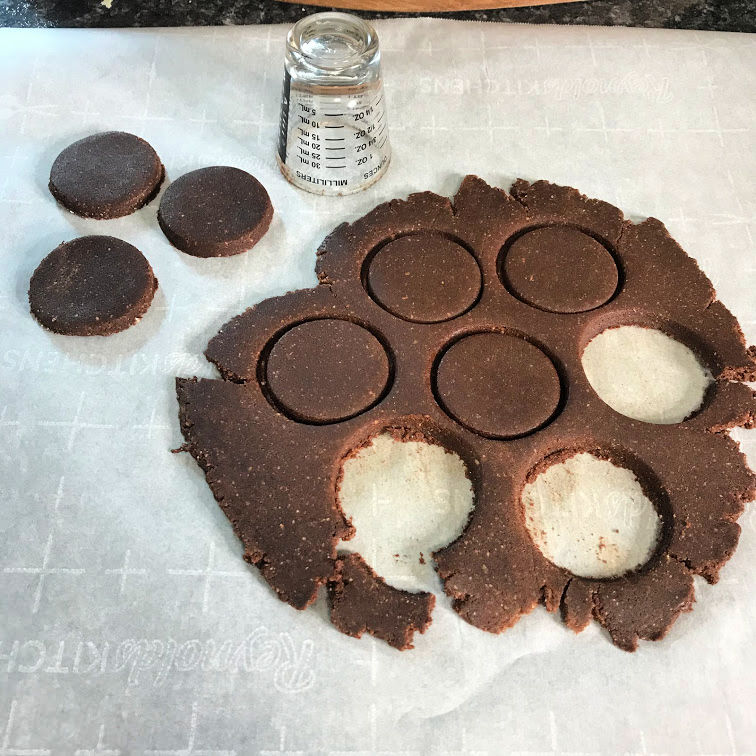
Ball up the Oreo cookie dough scraps and roll out again, repeating the process until all the cookie dough is used.
I may or may not eat a little of the cookie dough while cutting out the cookie rounds. It tastes amazing in cookie dough form! Assuming you aren’t averse to raw eggs.
Once all the cookie rounds are cut out, bake them for 8-12 minutes.
The cookies are already dark, and it’s tough to know when they are done. You want to push the cooking time as far as possible without burning to ensure the cookies crisp up nicely.
It can be a bit of trial and error, and I have mistakenly baked them too long on more than one occasion. But that didn’t stop me from turning them into well-done Oreo Cookies.
In the picture below, you can see a few cookies in the top right corner that are a little bit too done. Oops!
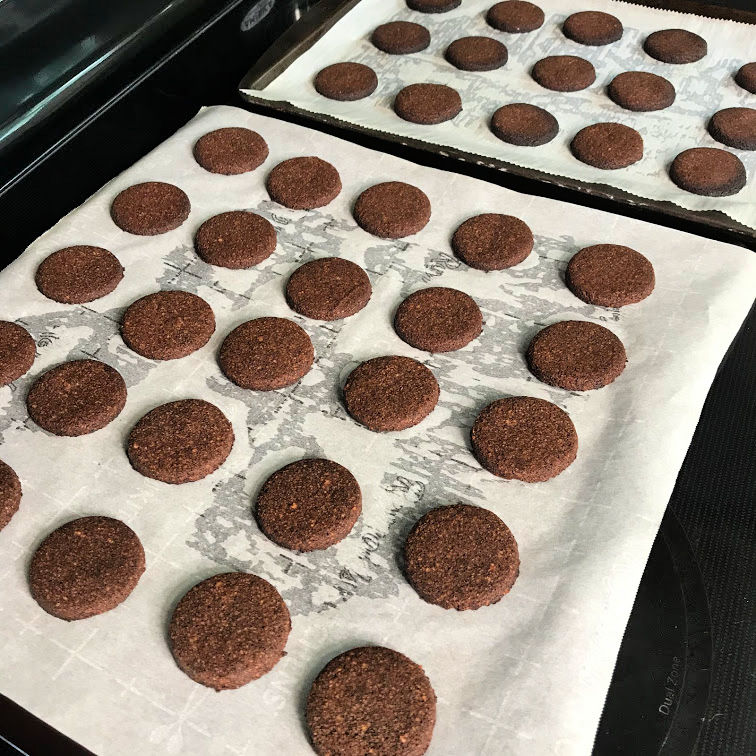
Since we are using Erythritol-based sweetener, the cookies will continue to harden for up to two hours after they come out of the oven as the sweetener recrystallizes.
I’m not sure other low-carb sweeteners would work as well to get the cookies as crisp as they need to be, but I have yet to experiment with a different sweetener.
Once out of the oven, allow the cookies to cool for about 15 minutes before transferring to a cooling rack. It’s best to let them sit out for at least two hours before making the filling and assembling the cookies.
If you can wait that long.
The Cream Filling
The cream filling is super easy to make.
Simply dump all the ingredients (butter, powdered swerve, vanilla, and salt) in a medium-sized bowl and cream together with an electric hand-mixer until fulling incorporated.
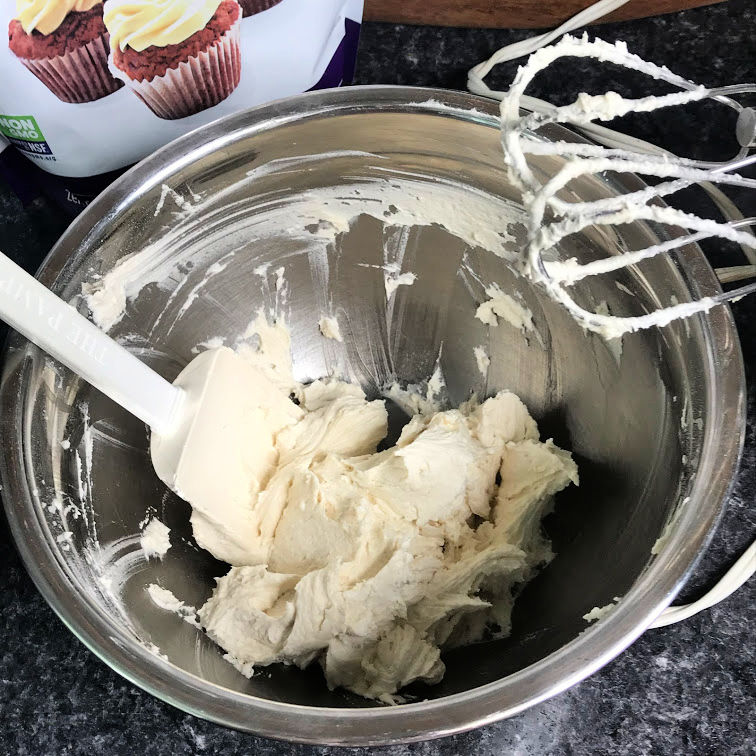
If the filling is not sweet enough for you, add more sweetener in about 1 tbsp at a time until it reaches the desired sweetness. It’s always best to start with less sweetener and add more. Once it’s too sweet, there is no going back.
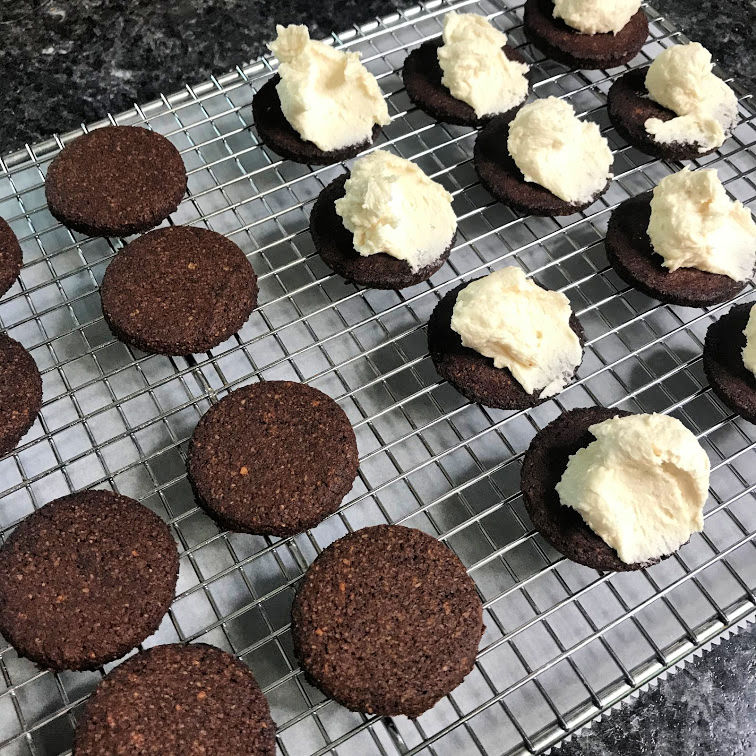
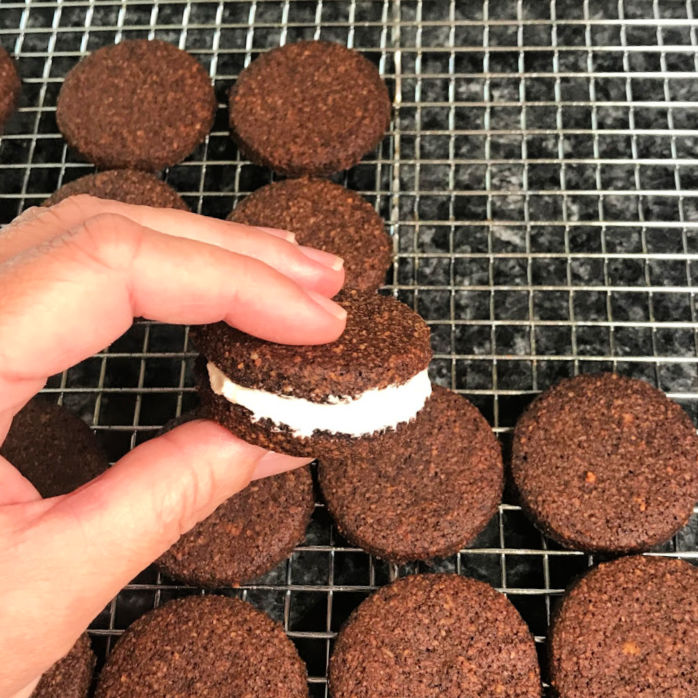
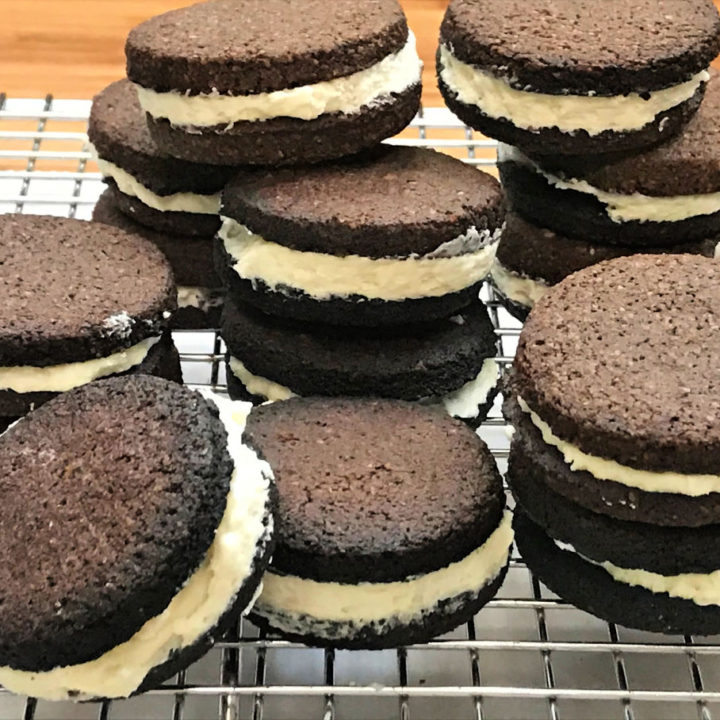
Assembling the Low Carb Oreo Cookie
Now for the fun part! Spread or pipe the cream filling onto a cookie and then sandwich a second cookie on top. Repeat until all the cookies are used.
My piping skills are seriously lacking, so I tend to just slap the cream on the cookie with a butter knife.
You can store Keto Oreo Cookies in an air-tight container for up to a week at room temperature, but I prefer to keep mine in the refrigerator.
More Low-Carb and Keto-Approved Cookie Recipes
Christmas Cutout Sugar Cookies
Pumpkin Cheesecake Thumbprint Cookies
Soft Batch Chocolate Chip Cookies
Homemade Oreo Cookie Recipe - Keto and Low Carb
America's favorite cookie has been ketofied!! These homemade gluten-free oreo cookies are even better than the original! (IMHO)
Ingredients
For the Cookies:
- 1 cup almond flour
- 2 tbsp coconut flour
- 1/2 cup cocoa powder
- 1/2 teaspoon salt
- 1/2 teaspoon xanthan gum
- 1/2 teaspoon baking powder
- 1/2 teaspoon espresso powder
- 1/2 cup Swerve Sweetener
- 6 tbsp butter, softened
- 1 egg
Cream Filling:
- 4 tbsp butter, softened
- 1/2 cup powdered Swerve
- 2 tsp vanilla extract
- 1/4 tsp salt
Instructions
- In a medium-sized bowl, whisk together the almond flour, coconut flour, cocoa powder, salt, xanthan gum, baking powder, and espresso powder. Set aside.
- In a large mixing bowl, cream the butter with a hand mixer for about 1 minute.
- Add the sweetener and continue mixing until most of the sweetener has dissolved.
- Add the egg and continue mixing until incorporated. It won't be 100% mixed in, so just mix it together as much as possible.
- Slowly add the dry ingredients into the wet mixer (about half at a time) and continue mixing until a crumbly, but sticky dough forms.
- Wrap the cookie dough in plastic wrap and stick in the refrigerator for at least 1 hour, up to 24 hours.
- Preheat the oven to 350 degrees F.
- Roll how the cookie dough between two pieces of parchment paper until the expected thickness of a single oreo cookie. (the cookie part, not the entire sandwich)
- Using an oreo sized cookie cutter (about 1 3/4 diameter), cut out the cookie rounds, and transfer them to a parchment-lined baking sheet.
- Ball up any cookie dough scraps and roll out again, repeating the process until all the cookie dough is used.
- Bake for 8-12 minutes. Since the cookies are already dark, it's tough to know when they are done, but you want to push the cooking time as far as possible without burning to ensure the cookies crisp up nicely.
- Because we are using Erythritol-based sweetener, the cookies will continue to harden for up to two hours after they come out of the oven as the sweetener recrystallizes.
- Once out of the oven, allow the cookies to cool for about 15 minutes before transferring to a cooling rack.
- To make the cream filling, put all the ingredients in a medium-sized bowl and cream together with an electric hand-mixer until fulling incorporated. If the filling is not sweet enough for you, add more in about 1 tbsp at a time until it reaches the desired sweetness.
- Spread or pipe the cream filling onto a cookie and then sandwich a second cookie on top. Repeat until all the cookies are used.
- You can store these in an air-tight container for up to a week at room temperature, but I prefer to keep mine in the refrigerator.
Nutrition Information:
Yield: 20 Serving Size: 1 cookie sandwichAmount Per Serving: Calories: 96.31Total Fat: 9.16gSaturated Fat: 4.18gSodium: 42.93mgCarbohydrates: 2.89gFiber: 1.69gSugar: 0.37gProtein: 2.12g