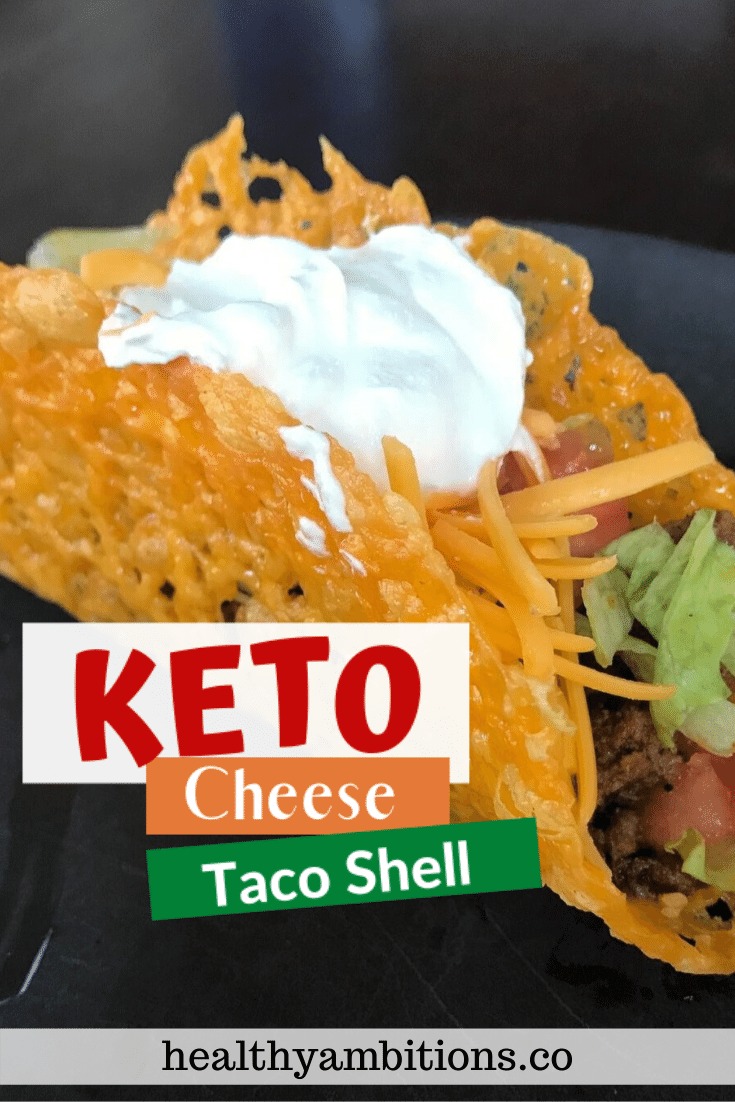
Never miss another Taco Tuesday with these Keto Cheese Taco Shells. They are super simple to make, and I’ve included a video tutorial below to demonstrate how easy it is.
I don’t think I can actually call this a “recipe” because it includes 1 ingredient. That’s all!
Of course, if you want to get fancy with it, have fun playing around with various spices to add flavor or turn up the heat.
The best part about these cheese taco shells is they hold up so much better than hard corn shells. You know what I’m talking about. You take one bite of the taco and it completely falls apart onto your plate.
Related: Like Mexican food? Check out these 9 Mind-Blowing Keto-Friendly Mexican Recipes!
These cheese taco shells hold their shape, BUT they are malleable enough to NOT break apart when you take a bite.
The ONLY downside to cheese taco shells is that if your taco fillings, the meat, is TOO HOT, it will start melting the cheese. But it has to be steaming hot to melt the cheese, so no worries.
For any party with a Taco Bar, the meat will be warm at best, and not cause any issues.
This post may contain affiliate links, which helps keep this content free. Please read our disclosure for more info.
How to Make Keto Cheese Taco Shells (Video Tutorial)

If you like watching recipe tutorials, be sure to subscribe to my YouTube Channel! Healthy Ambitions on YouTube
How to Make Keto Cheese Taco Shells (Written Instructions)
Preheat your oven to 420 degrees F and line a baking sheet with parchment paper. Many baked goods can use silicone baking mats, but that will not work for cheese tacos. Parchment paper is the only way to go.
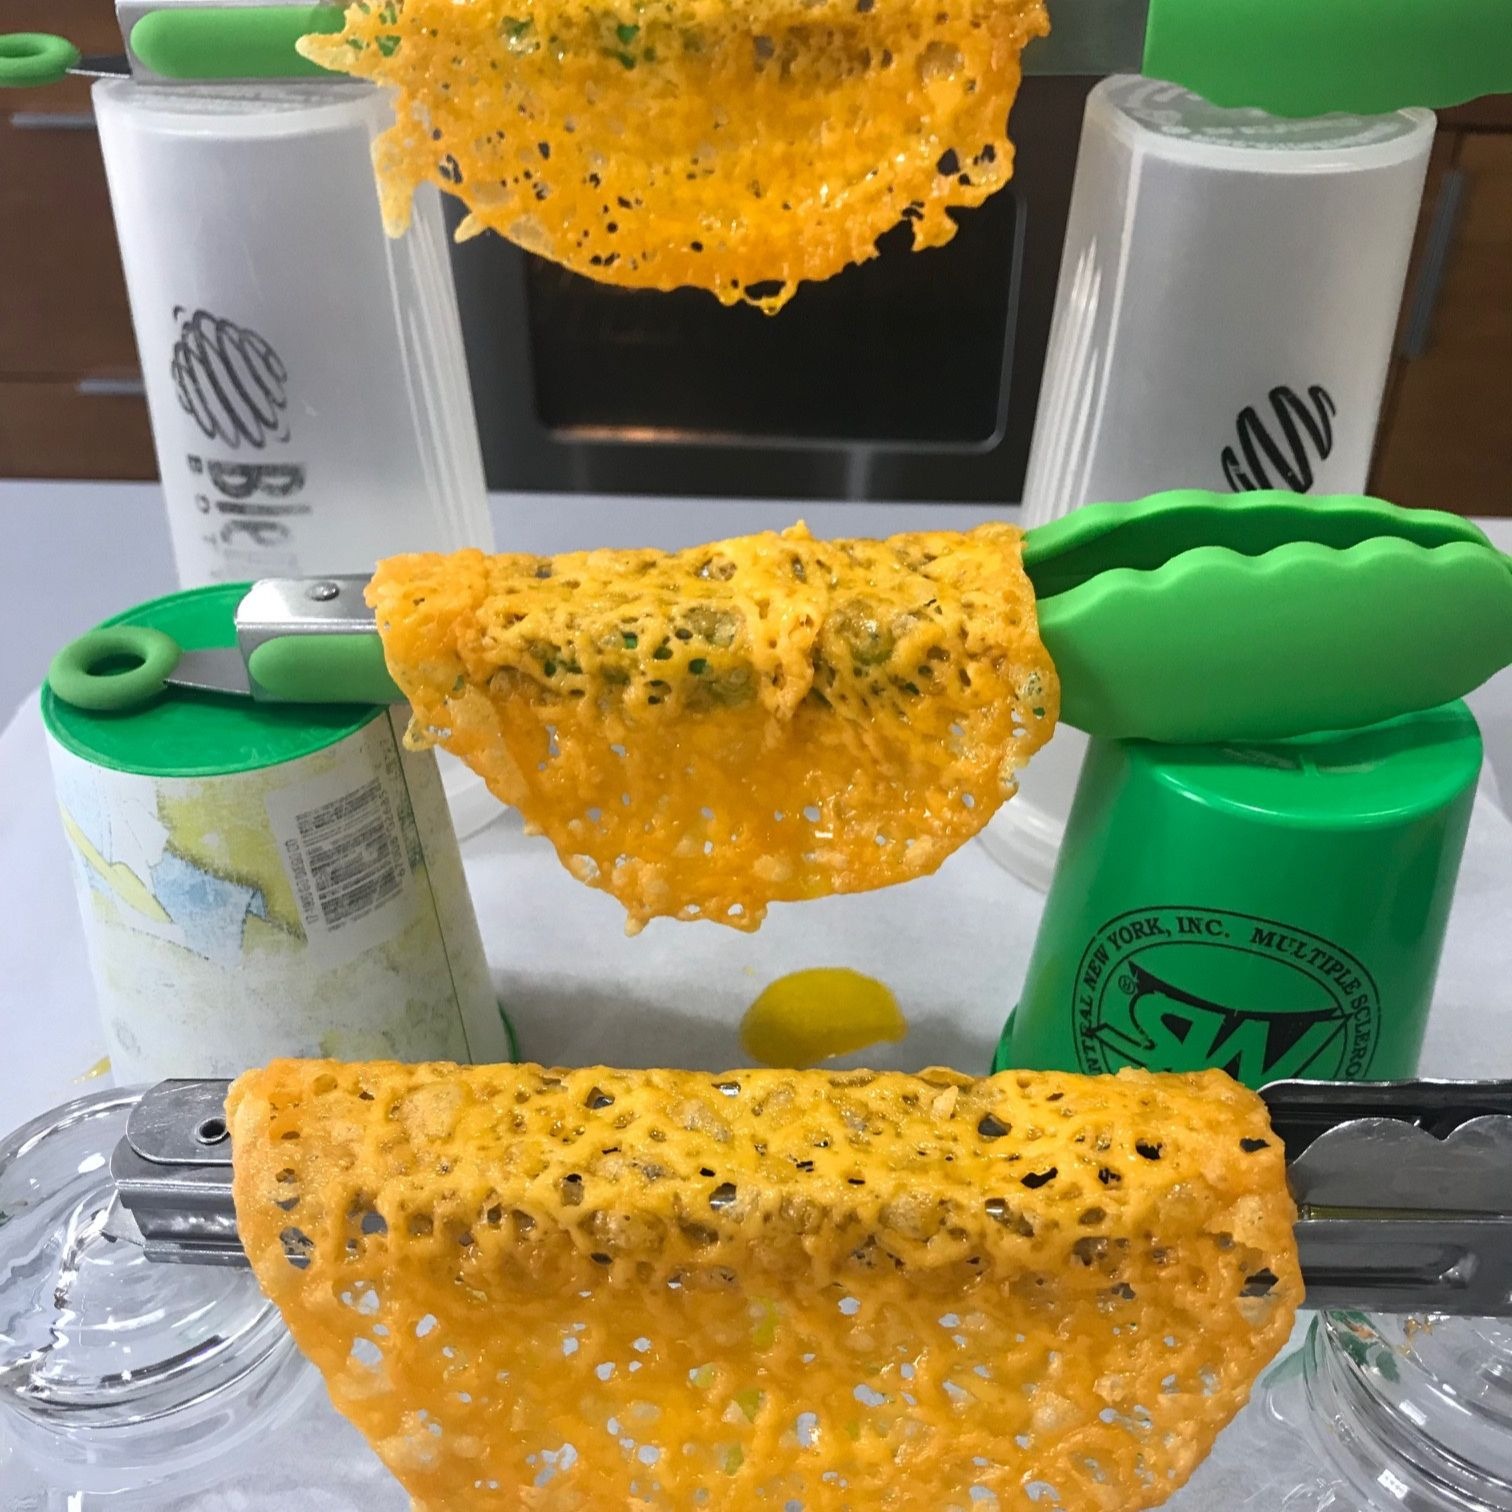
Set up your cheese taco shell “drying center”. For this, you’ll need two cups and one hanging “bar” for each taco shell. The bar can be anything: wooden spoons, tongs, chopsticks, etc…
Related: 8 Keto Comfort Food Swaps that make going keto a little easier.
Spoon 1/4 cup of shredded cheddar cheese onto the parchment-lined baking sheet for each taco. Using your hands, spread the shredded cheese a bit forming a circle.
Bake the keto cheese taco shells for 5-10 minutes, or until the cheese is bubbly, with grease running. In the video above, I show what it looks like if it’s too soon, and what it looks like when the cheese is ready to come out of the oven.
Once out of the oven, allow the cheese to cool slightly. If you remove the cheese from the parchment paper too soon, it will fall apart. If you remove it too late, it will harden and form a tostada shell instead of a taco shell 😉
When the cheese is cooled off enough to remove from the parchment paper, slowly peel off the round cheese circle and hang it on your drying bar, cup hanging, thingymerbob. I haven’t decided on a name for the contraption yet, lol
Allow the cheese taco shells to cool completely on the drying rack so they hold their shape.
Finally, fill the cheese taco shell with your favorite taco fillings and enjoy!
Leftovers can be refrigerated for 3-4 days so they are great to make ahead for an easy taco lunch throughout the week!
More Fun Recipes!
Personal Pizzas with Fathead Dough