Sugar-Free Coffee Ice Cream
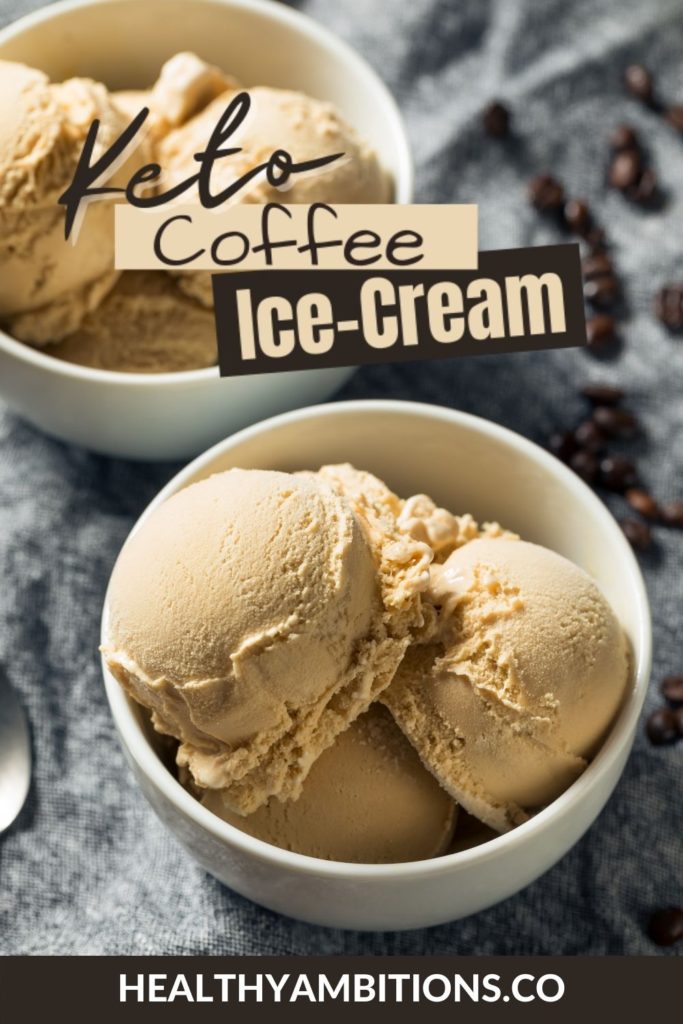
This Sugar-Free Coffee Ice Cream recipe combines two of my favorite things in life. Coffee and Ice Cream!!
If you’ve followed me for long, you know that I make ice-cream nearly every weekend. I purchased an ice-cream maker soon after adopting the ketogenic lifestyle because I knew that ice cream was one thing my family would never give up.
Little did I know 2 ½ years ago how much we would actually use the ice-cream maker!

Interestingly, or perhaps not, two years prior to this during one of our Minimalist purging sessions, we donated a similar ice cream maker we received as a wedding gift ten years earlier that we never used a single time!
Lesson learned, to truly need something we must first get rid of it… LOL
This post may contain affiliate links, which helps keep this content free. Please read our disclosure for more info.
Is Coffee Keto-Friendly?
Yes! Fresh brewed coffee is keto-friendly. What’s not keto-friendly is most of the sweet creamers and sugary syrups that are available. If you ever doubt whether or not something is keto-friendly, read the ingredients! But, if you’re using ground coffee beans with no fillers or added sweeteners, your caffeinated beverage is keto-approved!
With that said, let’s make this yummy ice cream, shall we?
How to Make Sugar-Free Coffee Ice Cream
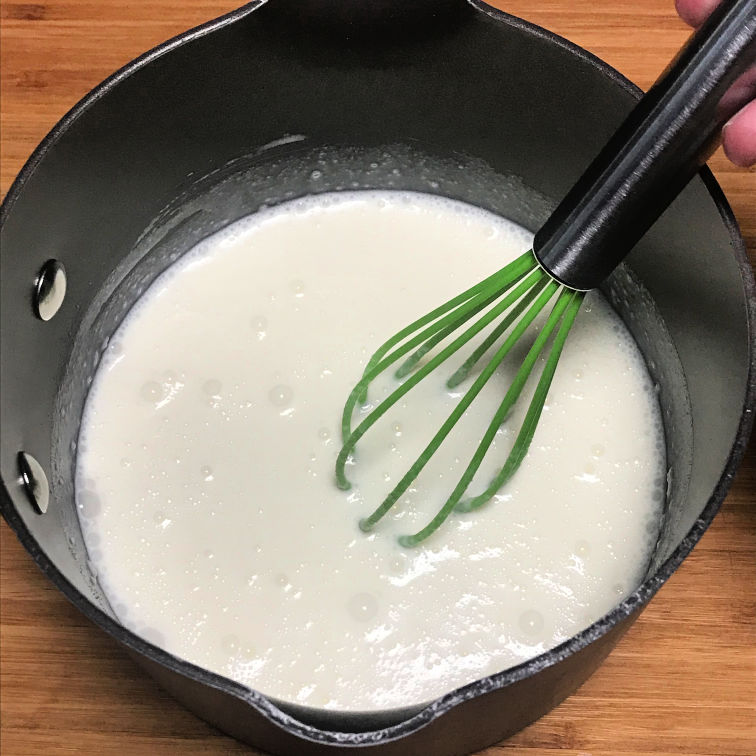
Start things off with your favorite saucepan set over medium heat and bring the heavy cream and allulose to 160 degrees F. This is your ice cream base. Remember to have your whisk handy to keep things in the pot!
There are many low-carb sweeteners to choose from, but I have discovered that Allulose provides the absolute best texture for ice cream.
Unlike other sweeteners I’ve used in the past, with Allulose, the ice-cream remains totally scoopable, even after several days in the freezer!
While you’re letting that base heat up, go ahead and divide your eggs placing the yolks into a medium-sized bowl. Remember to keep one eye on your base though and whisk at the ready!
Sooner than you expect, your sweetened milk will reach 160 degrees, remove it from the heat, and fill a one-cup measuring cup.
SLOWLY pour that cup of wonderfully hot and sweet nectar over your egg yolks while whisking the egg yolks vigorously.
This is an ancient magic called “tempering” the eggs. By tempering the eggs, you are slowly cooking them, without scrambling them because we do not want scrambled eggs in our ice cream.
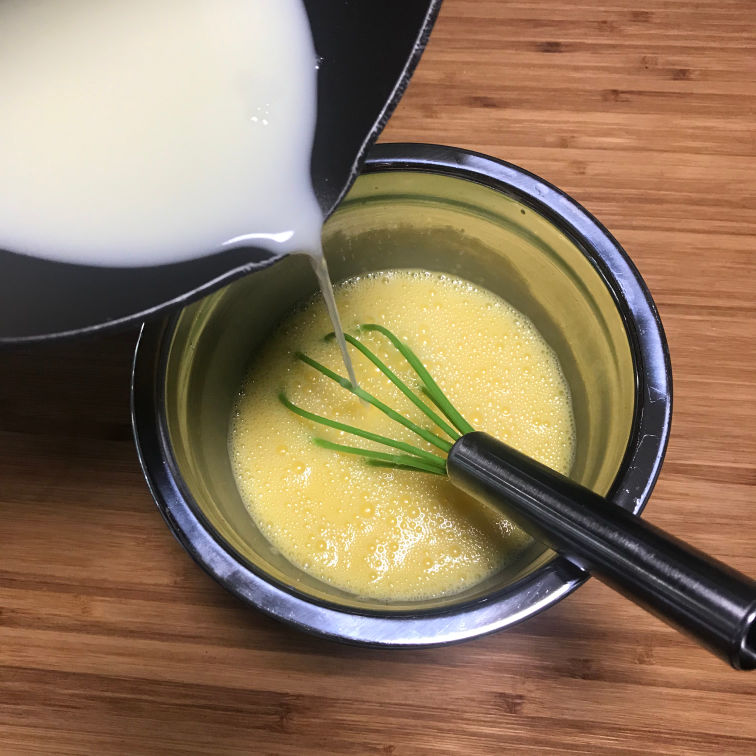
Once you’ve completed the tempering of said eggs, you should have a “liquidy” mixture of egg yolks and sweetened milk.
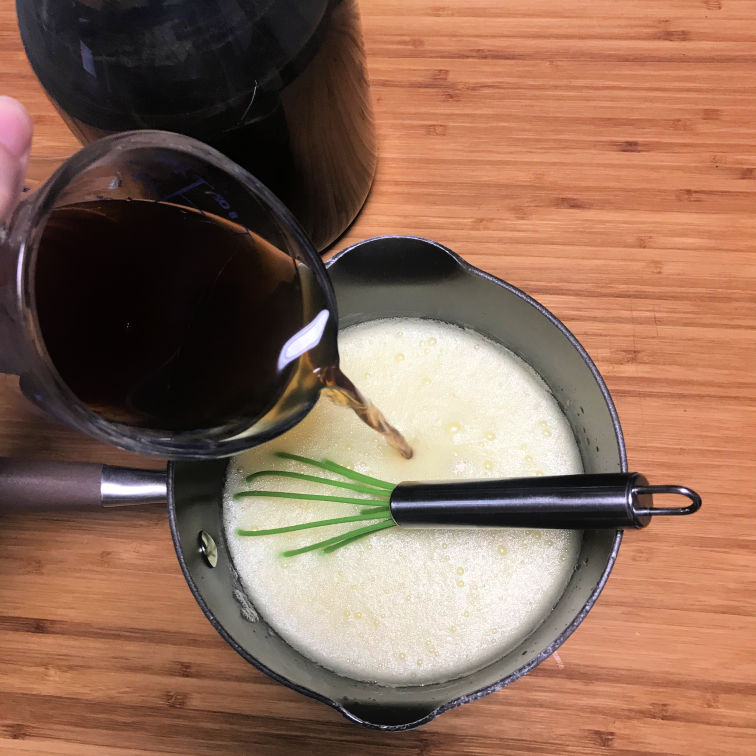
Now you get to pour your new liquidy mixture back into the saucepan, stir in the instant espresso, and return it back to the burner until the temperature reaches 170 degrees F at which point, you’ll remove from heat and stir in the brewed coffee.
Related: Like coffee and ice cream? Then, you have to try my Tiramisu Ice Cream!
At this point, you’ve got a hot cream mixture that desperately needs to be cooled off.
Did I mention you’re gonna need a bowl of ice and water? And a separate bowl to place into the bowl of ice and water? Well, you do and now is the perfect time to set it up!
Once you have your ice bath bowl setup, place the hot cream into the top ice bath bowl and let the hot cream cool for 20 minutes in the ice bath.
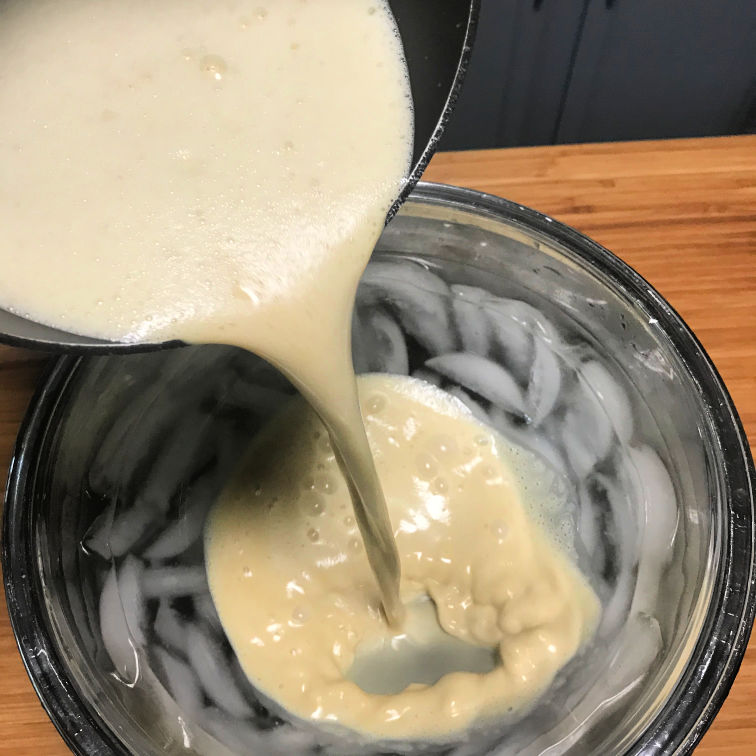
After 20 minutes, remove the bowl of cool cream from the ice bath. Cover the cool cream bowl with plastic wrap and let it set in the fridge for 3+ hours to make it cold cream. (see what we did there, it was hot but now it’s cold).
Once ready, remove the chilled ice cream mix from the fridge and stir in the liquid stevia and rum. (Do not forget the rum, says Captain Jack!)
And before you ask, the rum is totally optional, but adds an amazing flavor boost 😉
Related: Learn what helped me win my family over to the keto diet.
Finally, we have achieved cold cream and added our rum and now we get to churn and churn and churn per your ice cream maker instructions.
Once the churning is complete then transfer the ice cream to an airtight storage container and allow to harden in the freezer for at least 3 hours before serving.
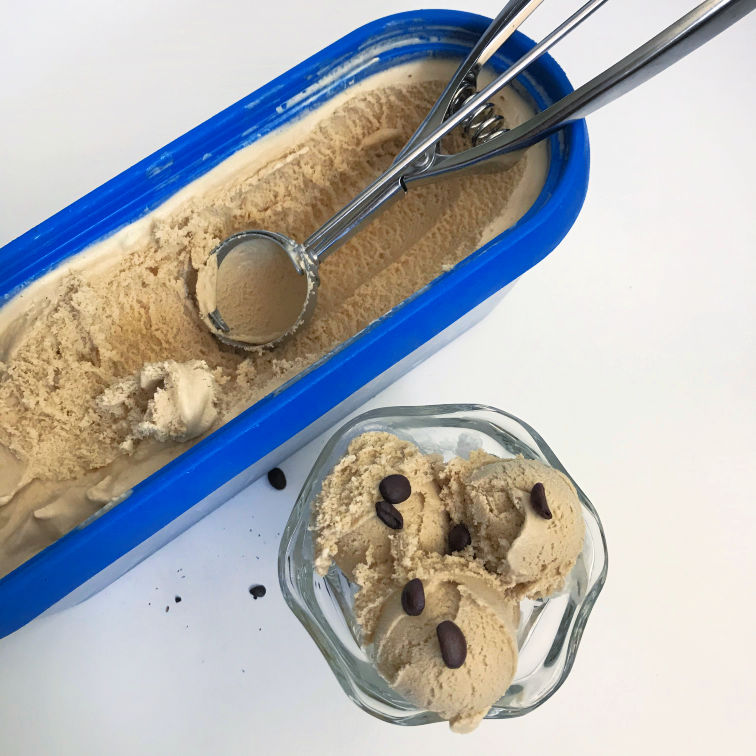
One final thing to remember, the cook always gets dibs on the ice cream that remains stuck inside the ice cream maker!
Check out the below video for the recipe tutorial!
Looking for More Yummy, Low-Carb Ice Cream Flavors?
Do you have a favorite ice cream flavor you’d like to see ketofied? Drop me a comment below and let me know what flavor you’d like to see on this website!
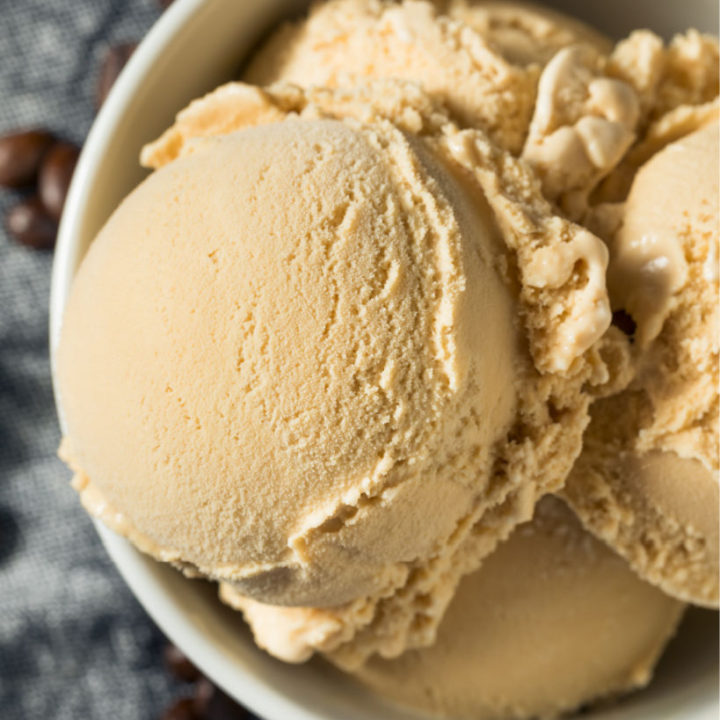
Sugar-Free Coffee Ice Cream
Ingredients
- 1/2 cup Allulose
- 2 1/2 cups heavy whipping cream
- 5 egg yolks
- 1 tsp instant espresso (optional – enhances coffee flavor)
- 1 cup coffee, strong brew
- 1/2 tsp liquid stevia
- 2 tbsp rum (optional but enhances the coffee flavor. You can also use 1/2 tsp rum extract)
Instructions
- In a saucepan over medium heat, bring the heavy cream and allulose to 160 degrees F, whisking as needed.
- While the ice cream liquid base is heating up, divide the eggs and put your yolks into a medium-sized bowl.
- Once the sweetened milk has reached 160 degrees, remove it from the heat, and pour 1 cup into a measuring cup.
- SLOWLY pour the hot sweetened milk mixture over the egg yolks while whisking the egg yolks vigorously. This will temper the eggs, slowly cooking them, without scrambling them. Once done, you should have a liquid mixture of egg yolks and sweetened milk.
- Pour the egg/milk mixture back into the saucepan, add the instant espresso and whisk until combined.
- Return the saucepan to the burner and continue heating over medium heat until the temperature reaches 170 degrees F, stirring occasionally.
- Remove from heat and stir in the brewed coffee.
- Pour the hot ice cream mixture into the ice bath bowl. Let the ice cream cool for 20 minutes in the ice bath, then remove the top bowl, cover with plastic wrap, and put into the refrigerator for 3+ hours.
- Once ready, remove the chilled ice cream mix and stir in the liquid stevia and rum.
- Churn per your ice cream maker instructions.
- Transfer the ice cream to an airtight storage container and allow to harden in the freezer for at least 3 hours before serving.
Nutrition Information:
Yield: 6 Serving Size: 1Amount Per Serving: Calories: 392Total Fat: 40gSaturated Fat: 24gTrans Fat: 1gUnsaturated Fat: 13gCholesterol: 266mgSodium: 35mgCarbohydrates: 3gFiber: 0gSugar: 0gProtein: 5g

I would love to see a recipe for keto pistachio ice cream or gelato. I have a kitchenaid ice cream maker that turns at 60 rpm’s, great speed for gelato if I can come up with a good recipe.
Mr. Healthy Ambitions has made the same request, lol….I definitely need to come up with a recipe for that 😉